Neo 2 Guide: Mastering Wildlife Monitoring in Low Light
Neo 2 Guide: Mastering Wildlife Monitoring in Low Light
META: Learn how the Neo 2 drone transforms low-light wildlife monitoring with advanced tracking and obstacle avoidance. Expert tutorial for photographers.
TL;DR
- Optimal flight altitude of 15-25 meters balances wildlife safety with image clarity in dim conditions
- D-Log color profile captures up to 3 extra stops of dynamic range during golden hour and twilight shoots
- ActiveTrack maintains subject lock on moving animals even when light drops below 100 lux
- Obstacle avoidance sensors prevent crashes during unpredictable wildlife encounters in dense habitats
Why Low-Light Wildlife Monitoring Demands Specialized Drone Capabilities
Capturing wildlife behavior during dawn, dusk, and twilight reveals animal activities invisible during harsh daylight. The Neo 2 addresses the core challenge every wildlife photographer faces: maintaining sharp, usable footage when ambient light plummets.
This tutorial walks you through configuring your Neo 2 for optimal low-light wildlife documentation, from sensor settings to flight patterns that minimize animal disturbance.
Understanding the Neo 2's Low-Light Sensor Performance
The Neo 2's imaging sensor performs remarkably in challenging lighting conditions. Its 1/1.3-inch CMOS sensor gathers significantly more light than smaller alternatives, producing cleaner footage at higher ISO values.
For wildlife work, this translates to usable footage at ISO 3200 with minimal noise artifacts. Push beyond this threshold only when capturing rare behavior that justifies post-production noise reduction.
Key sensor specifications for low-light work:
- Native ISO range: 100-6400
- Optimal low-light ISO: 800-3200
- Maximum aperture: f/2.8
- Shutter speed range: 1/8000s to 8s
Expert Insight: Set your ISO to 1600 as a starting point for twilight shoots. This provides headroom to increase sensitivity if clouds roll in while maintaining acceptable noise levels for professional delivery.
Configuring D-Log for Maximum Dynamic Range
D-Log color profile becomes essential when monitoring wildlife during transitional lighting periods. Standard color profiles clip highlights and crush shadows—exactly the conditions you encounter when bright sky meets shadowed forest floor.
Activating D-Log on the Neo 2 requires specific complementary settings:
- Navigate to Camera Settings > Color Profile
- Select D-Log M
- Reduce contrast to -2
- Set sharpness to -1 (prevents edge artifacts in low light)
- Enable histogram overlay for exposure monitoring
The flat, desaturated footage D-Log produces looks underwhelming on your controller screen. Trust the process. This profile preserves highlight and shadow detail that standard profiles permanently destroy.
Flight Altitude Strategy for Wildlife Safety and Image Quality
Flight altitude directly impacts both wildlife behavior and footage quality. Too low disturbs animals; too high reduces detail and increases atmospheric haze interference.
| Altitude Range | Best Use Case | Wildlife Impact | Image Quality |
|---|---|---|---|
| 5-10 meters | Small birds, insects | High disturbance risk | Maximum detail |
| 15-25 meters | Medium mammals, waterfowl | Minimal disturbance | Optimal balance |
| 30-50 meters | Large herds, predators | Negligible impact | Reduced detail |
| 50+ meters | Landscape context shots | None | Atmospheric interference |
The 15-25 meter sweet spot works for most wildlife monitoring scenarios. At this altitude, the Neo 2's obstacle avoidance sensors remain effective while animals typically continue natural behaviors.
Pro Tip: Approach your target altitude gradually over 2-3 minutes rather than ascending quickly. Sudden vertical movement triggers prey responses in most species, while slow ascent often goes unnoticed.
Leveraging ActiveTrack for Moving Wildlife
Subject tracking transforms wildlife monitoring from frustrating guesswork into reliable documentation. The Neo 2's ActiveTrack system locks onto subjects and maintains framing as animals move unpredictably.
Configuring ActiveTrack for wildlife requires adjustments from default settings:
- Tracking sensitivity: Set to High for fast-moving subjects like deer or birds
- Obstacle response: Enable Brake mode rather than Bypass to prevent crashes in dense vegetation
- Subject size: Select Small for animals under 50 kg, Medium for larger mammals
ActiveTrack performs best when your subject contrasts against its background. A brown deer against brown leaves challenges the system; the same deer crossing a meadow tracks flawlessly.
For low-light conditions specifically, ActiveTrack maintains lock down to approximately 100 lux—equivalent to deep twilight or heavily overcast conditions. Below this threshold, manual tracking becomes necessary.
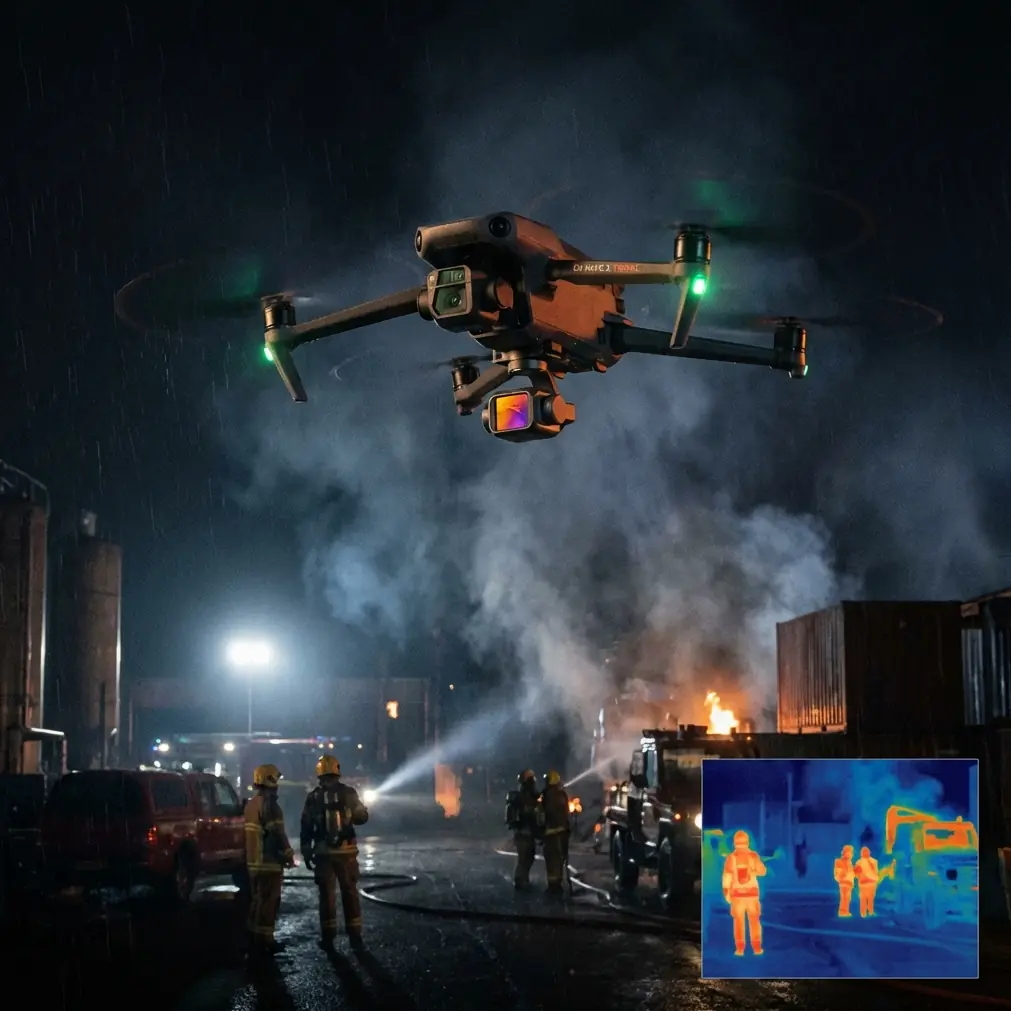
Obstacle Avoidance in Dense Habitats
Wildlife monitoring often occurs in environments filled with tracking hazards: tree branches, power lines, cliff faces, and vegetation. The Neo 2's omnidirectional obstacle avoidance provides crucial protection.
The system uses multiple sensor types working simultaneously:
- Forward/backward sensors: Effective range 0.5-20 meters
- Lateral sensors: Effective range 0.5-15 meters
- Vertical sensors: Effective range 0.3-10 meters
In low light, sensor effectiveness decreases. The infrared-based system maintains approximately 70% effectiveness at twilight, dropping further in complete darkness.
Compensate by:
- Reducing maximum flight speed to 5 m/s in dim conditions
- Increasing minimum obstacle distance setting to 3 meters
- Pre-scouting flight paths during daylight hours
- Using Return-to-Home at first sign of sensor warnings
QuickShots and Hyperlapse for Behavioral Documentation
Automated flight modes capture professional-quality footage while you focus on animal behavior rather than stick inputs.
QuickShots useful for wildlife:
- Circle: Orbits subject while maintaining camera lock—ideal for animals at rest
- Helix: Ascending spiral reveals habitat context
- Rocket: Vertical ascent works for nesting sites or den locations
Hyperlapse modes compress extended behaviors into shareable clips:
- Circle Hyperlapse: Documents territorial patrol patterns
- Course Lock Hyperlapse: Captures migration corridor activity
- Waypoint Hyperlapse: Repeatable paths for comparative studies
Set Hyperlapse intervals to 2-3 seconds for wildlife work. Faster intervals create jarring footage when animals move unpredictably between frames.
Practical Low-Light Monitoring Workflow
Follow this sequence for consistent results across varying conditions:
Pre-flight preparation:
- Charge batteries to 100% (cold temperatures drain faster)
- Clean all sensors with microfiber cloth
- Update firmware to latest version
- Scout location during daylight
- Identify emergency landing zones
Camera configuration:
- Set D-Log color profile
- Configure ISO to 1600 baseline
- Set shutter speed to 1/50s for 24fps or 1/60s for 30fps
- Enable histogram and zebras at 95%
- Format SD card in-camera
Flight execution:
- Launch from downwind position
- Ascend slowly to 20 meters
- Enable ActiveTrack on subject
- Monitor battery and sensor warnings
- Land with minimum 25% battery remaining
Common Mistakes to Avoid
Ignoring the 180-degree shutter rule. Setting shutter speed too fast in low light creates harsh, stuttery footage. Match shutter speed to double your frame rate for natural motion blur.
Overrelying on obstacle avoidance at night. Sensors lose effectiveness as light drops. Pilots who trust daytime sensor performance in twilight conditions risk collisions with branches and wires.
Approaching wildlife too quickly. Sudden drone appearance triggers flight responses. Budget 5-10 minutes for gradual approach regardless of how eager you are to capture behavior.
Neglecting wind conditions. Low-light periods often coincide with thermal shifts creating unpredictable gusts. The Neo 2 handles 10 m/s winds, but wildlife footage suffers from micro-vibrations even at lower speeds.
Forgetting spare batteries. Cold temperatures and sensor-intensive features drain power faster. Carry minimum three fully charged batteries for any serious monitoring session.
Shooting in auto exposure. Automatic settings constantly adjust as animals move between light and shadow, creating unusable footage with exposure pumping. Lock exposure manually before tracking begins.
Frequently Asked Questions
What is the minimum light level for effective Neo 2 wildlife monitoring?
The Neo 2 produces usable footage down to approximately 50 lux, equivalent to civil twilight or a well-lit parking lot at night. ActiveTrack functions reliably to about 100 lux. Below these thresholds, manual flight control and post-production noise reduction become necessary. For reference, full moonlight provides only 0.1-0.3 lux—far below operational minimums.
How close can I fly to wildlife without causing disturbance?
Disturbance distance varies dramatically by species. As a baseline, maintain minimum 15 meters horizontal distance and 20 meters altitude for medium-sized mammals. Birds require greater distances—30-50 meters for most species. Observe animal behavior continuously; ear positioning, head movements, and stance changes indicate stress before flight occurs. Retreat immediately at first sign of agitation.
Should I use ND filters for low-light wildlife monitoring?
Generally, no. ND filters reduce light transmission, forcing higher ISO values that increase noise. Remove ND filters for twilight and dawn shoots. The exception occurs during golden hour when bright sky behind your subject creates extreme dynamic range challenges. In these specific conditions, a light ND4 filter combined with D-Log preserves both highlight and shadow detail.
Ready for your own Neo 2? Contact our team for expert consultation.