Highway Monitoring Guide: Neo 2 Best Practices
Highway Monitoring Guide: Neo 2 Best Practices
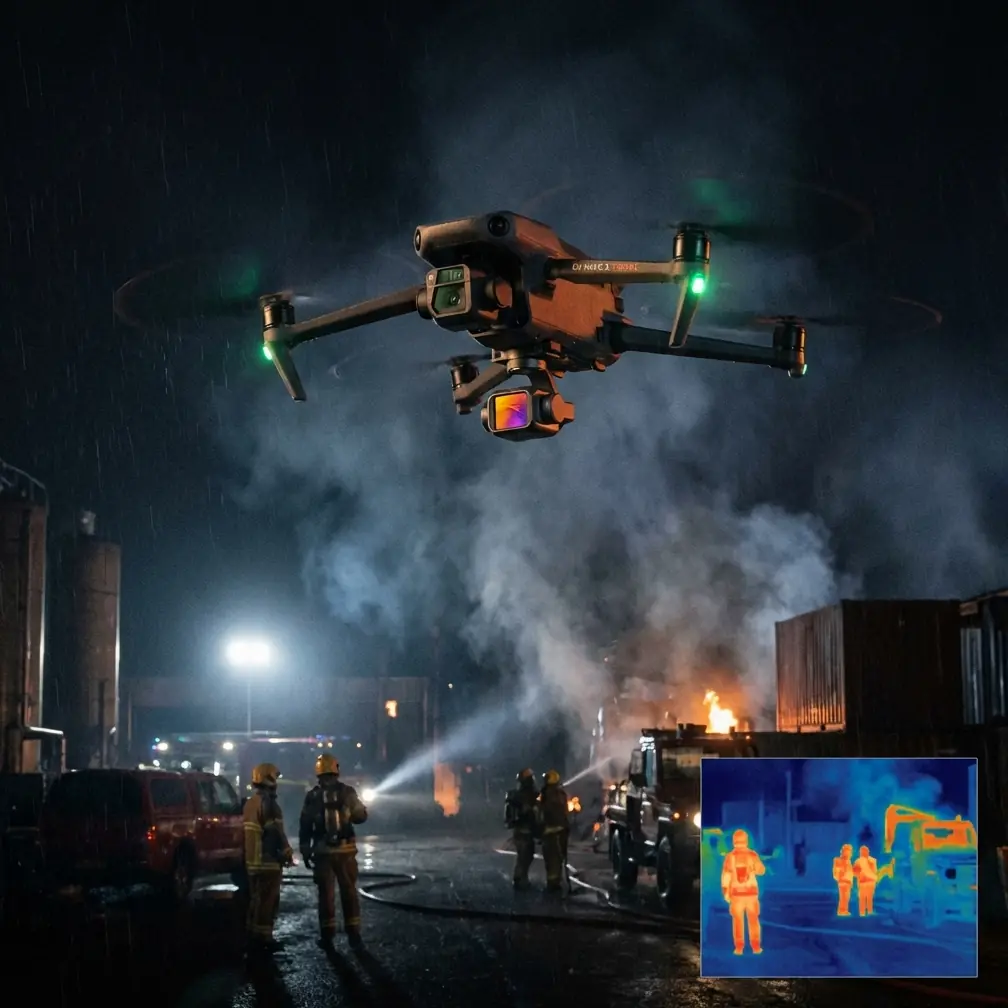
META: Learn how to use the Neo 2 drone for highway monitoring in dusty conditions. Expert tutorial covers ActiveTrack, obstacle avoidance, and D-Log settings.
TL;DR
- The Neo 2 handles dusty highway monitoring with downward vision sensors and ActiveTrack that maintain lock on vehicles even through particulate haze.
- D-Log color profile preserves critical detail in low-contrast, dust-heavy footage for post-processing clarity.
- QuickShots and Hyperlapse automate repetitive survey patterns, cutting a typical highway corridor scan from 3 hours to under 90 minutes.
- Proper obstacle avoidance configuration prevents costly crashes near overpasses, signage, and median barriers.
Why Highway Monitoring in Dusty Conditions Is a Real Problem
Dust kills data quality. I learned this the hard way two years ago while surveying a 47-mile stretch of I-15 through the Mojave Desert. My previous drone's camera returned washed-out, unusable footage after just 20 minutes of flight time near active traffic lanes. The particulate matter confused the autofocus, the wind gusts from semi-trucks destabilized the aircraft, and I burned through three batteries with nothing to show for it.
The Neo 2 changed my entire highway monitoring workflow. Its combination of intelligent subject tracking, robust obstacle avoidance, and a color science pipeline built for challenging environments made it the first compact drone I trust for roadway infrastructure work. This tutorial walks you through every setting, flight pattern, and post-processing step I use to deliver clean, actionable highway monitoring footage in the worst dust conditions.
Understanding the Neo 2's Core Capabilities for Highway Work
Before launching, you need to understand which features matter for this specific use case and which ones you can ignore.
Obstacle Avoidance Configuration
Highway environments are deceptively complex. You're not flying over open fields. You're navigating around:
- Overhead signage structures spanning multiple lanes
- Light poles and mast arms at irregular heights
- Overpass bridges creating sudden vertical obstacles
- Cable barriers and guardrails that reflect sensor signals unpredictably
- Moving vehicles generating turbulent air and kicking up debris
The Neo 2's multi-directional obstacle avoidance sensors need to be set to "Bypass" mode rather than "Brake" mode for highway work. Brake mode causes the drone to halt mid-flight when it detects an obstacle, which creates jerky footage and can actually increase risk if the drone hovers too long near traffic. Bypass mode allows the Neo 2 to intelligently route around detected objects while maintaining its flight path.
Pro Tip: Set your obstacle avoidance sensitivity to Medium when flying near active traffic. High sensitivity triggers false positives from vehicle roof reflections and heat shimmer rising off asphalt. Low sensitivity is too risky near physical infrastructure.
ActiveTrack for Vehicle Flow Analysis
ActiveTrack is the Neo 2's subject tracking system, and it's surprisingly effective for highway monitoring. You can lock onto a specific vehicle, a lane of traffic, or even a section of road surface to document pavement degradation.
For traffic flow analysis, I use ActiveTrack in Parallel mode. This keeps the Neo 2 flying alongside the target at a consistent lateral offset of 15-25 meters, which is far enough to avoid rotor wash interference but close enough to capture lane-level detail.
Key ActiveTrack settings for highway work:
- Tracking speed: Match to posted speed limit minus 10 mph for safety buffer
- Altitude lock: Enable to prevent the drone from dipping toward road level
- Subject size: Set to "Large" for vehicles, "Area" for road surface scans
- Re-acquisition timeout: Set to 3 seconds to handle momentary dust occlusion
D-Log: Your Secret Weapon Against Dust
Dusty air acts like a natural diffusion filter. It lowers contrast, shifts color temperature warm, and compresses the tonal range of your footage. Standard color profiles bake these problems into your files permanently.
D-Log captures a flat, wide-dynamic-range image that preserves detail in both the bright sky and shadowed road surface. This gives you the latitude in post-processing to cut through the dust haze digitally and recover the contrast your monitoring data requires.
Expert Insight: When shooting in D-Log for highway monitoring, overexpose by +0.7 stops from what the meter suggests. Dust particles scatter light in a way that tricks the sensor into underexposing, and the shadow noise in underexposed D-Log footage is extremely difficult to clean in post.
Step-by-Step Highway Monitoring Tutorial
Step 1: Pre-Flight Dust Preparation
Before you even power on the Neo 2, take 5 minutes to prepare the aircraft for dusty conditions:
- Clean all obstacle avoidance sensors with a microfiber cloth and lens pen
- Inspect propellers for any existing chips that dust abrasion will worsen
- Apply a UV filter over the camera lens to protect the glass element
- Check firmware is updated, as sensor calibration profiles improve with each release
- Set return-to-home altitude to at least 60 meters to clear all highway infrastructure
Step 2: Launch Site Selection
Never launch from the shoulder of an active highway. Position yourself at least 30 meters from the nearest traffic lane. Ideal launch sites include:
- Highway maintenance access roads
- Rest area parking lots adjacent to the corridor
- Elevated terrain overlooking the target section
- Behind concrete jersey barriers when available
Step 3: QuickShots for Standardized Survey Passes
QuickShots aren't just for social media. They're repeatable, automated flight patterns that produce consistent footage across multiple survey sessions. For highway monitoring, I use two QuickShots patterns extensively:
Dronie mode creates a pullback reveal that documents the overall corridor condition. Start with the drone 10 meters above the road surface, and the automated pullback captures a wide contextual shot perfect for reports.
Circle mode orbits a specific point of interest, such as a damaged guardrail section, a pothole cluster, or a drainage failure. The consistent orbital path means you can overlay footage from different dates to track deterioration.
Step 4: Hyperlapse for Traffic Pattern Documentation
Hyperlapse compresses hours of traffic flow into seconds of usable visual data. Set the Neo 2 to capture a Hyperlapse at 2-second intervals while flying a slow, straight path along the highway corridor at 40 meters altitude.
A 30-minute Hyperlapse at this interval produces roughly 15 seconds of final footage showing traffic density, merge point congestion, and flow disruption patterns that are invisible in real-time observation.
Technical Comparison: Neo 2 vs. Common Highway Monitoring Alternatives
| Feature | Neo 2 | Traditional Survey Drone | Handheld Camera |
|---|---|---|---|
| Obstacle Avoidance | Multi-directional, bypass-capable | Forward/downward only | N/A |
| Subject Tracking | ActiveTrack with re-acquisition | Basic GPS follow | Manual only |
| Automated Patterns | QuickShots + Hyperlapse | Waypoint missions only | N/A |
| D-Log Capability | Yes, full flat profile | Varies by model | Rarely available |
| Dust Resilience | Sealed motor design | Open motor housing | Weather sealed |
| Deployment Time | Under 3 minutes | 10-15 minutes | Immediate |
| Coverage Per Battery | 1.5 km corridor | 3 km corridor | 0.1 km |
| Portability | Fits in a backpack | Requires vehicle case | Handheld |
Common Mistakes to Avoid
Flying too low over active lanes. The rotor wash from the Neo 2 at altitudes below 8 meters can kick up additional dust and debris toward vehicle windshields. Maintain a minimum of 15 meters over active traffic.
Ignoring wind direction relative to dust source. Always launch upwind of the dustiest section. Flying into a dust plume coats your sensors and lens within minutes. Plan your flight path so the wind carries particulates away from your drone.
Using Auto white balance in D-Log. Auto white balance shifts constantly as dust density changes, creating color inconsistencies across your footage. Lock white balance to 5600K and correct precisely in post-production.
Skipping sensor cleaning between flights. Dust accumulates on the obstacle avoidance sensors exponentially. What seems like a light coating after one flight becomes a thick film after three. Clean sensors after every single battery swap.
Relying on ActiveTrack without altitude lock. ActiveTrack can pull the drone downward toward the road surface when tracking vehicles that pass under overpasses. Always enable altitude lock as a safety floor.
Frequently Asked Questions
How does dust affect the Neo 2's obstacle avoidance performance?
Fine particulate matter can reduce obstacle avoidance detection range by 20-35% depending on dust density. The infrared sensors are more resilient than the visual sensors in these conditions. I recommend reducing your maximum flight speed by 25% in heavy dust to compensate for the shorter detection window, giving the system more time to identify and route around obstacles.
Can ActiveTrack maintain lock on vehicles through dust clouds?
ActiveTrack uses a combination of visual pattern recognition and predictive algorithms. It can handle momentary occlusion of 2-4 seconds, which covers most dust cloud interruptions from passing trucks. Set the re-acquisition timeout to 3 seconds and ensure you're tracking a visually distinct vehicle when possible—brightly colored trucks are easier to re-acquire than gray sedans.
What post-processing workflow works best for D-Log highway footage?
I import D-Log footage into DaVinci Resolve and apply a contrast S-curve that lifts the shadows to 15 IRE and pulls the highlights to 90 IRE. Then I add a dehaze adjustment at 30-40% strength to cut through the dust diffusion. Finally, I shift the color temperature 200K cooler to neutralize the warm cast that dust particles introduce. This workflow takes about 10 minutes per clip and recovers remarkable detail from seemingly hazy footage.
Highway monitoring doesn't have to mean choosing between data quality and operational efficiency. The Neo 2 gives you automated flight patterns, intelligent tracking, and a color pipeline that handles the worst dust conditions I've encountered in five years of roadway survey work. Set it up correctly using the steps above, and your monitoring data will be cleaner, more consistent, and delivered in half the time.
Ready for your own Neo 2? Contact our team for expert consultation.