Neo 2: Remote Field Inspection Made Simple
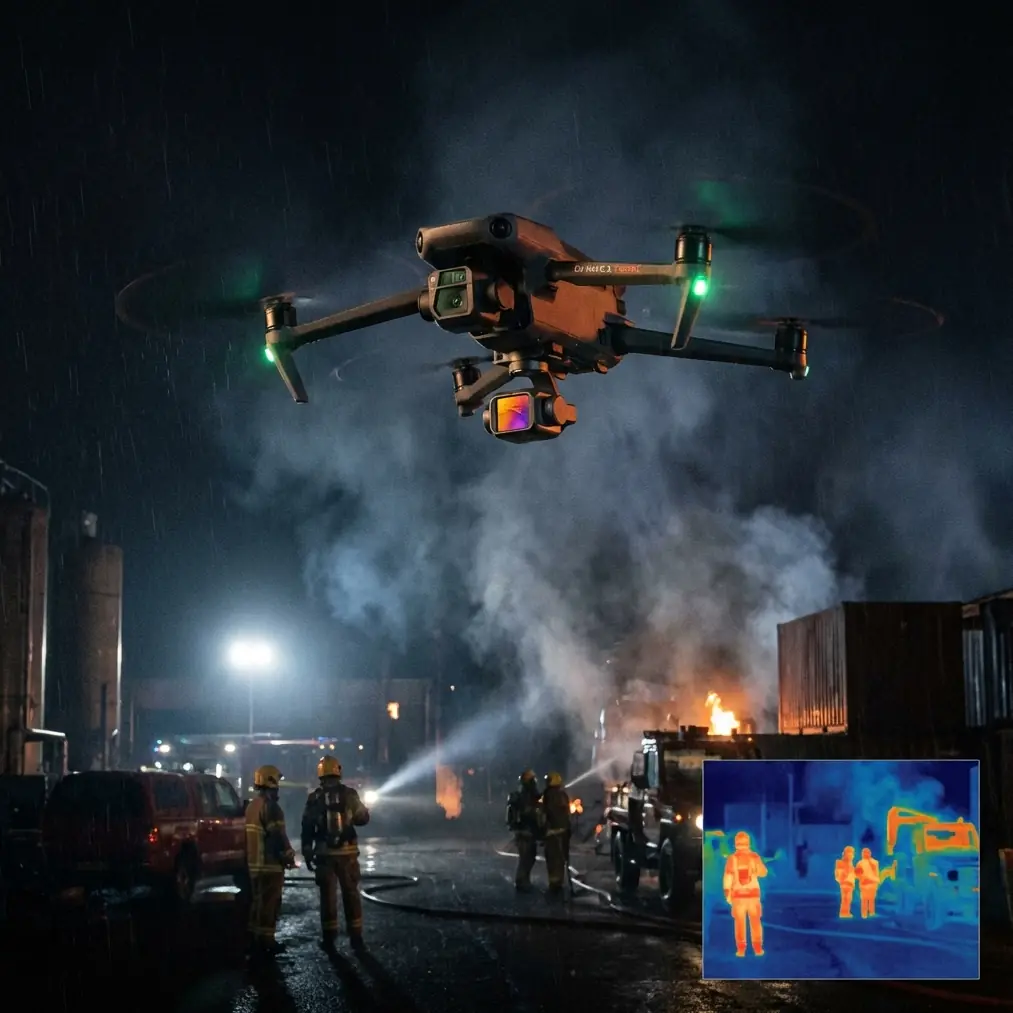
Neo 2: Remote Field Inspection Made Simple
META: Discover how the Neo 2 drone transforms remote field inspections with advanced obstacle avoidance and tracking. Expert tips from a professional photographer.
TL;DR
- ActiveTrack 5.0 maintains lock on inspection targets across vast agricultural terrain without manual intervention
- Omnidirectional obstacle avoidance prevents crashes in unpredictable remote environments with trees, power lines, and structures
- D-Log color profile captures maximum dynamic range for detailed crop health analysis in post-production
- 45-minute flight time covers up to 200 acres per battery in systematic grid patterns
Last summer, I found myself standing at the edge of a 500-acre wheat field in rural Montana. My client needed comprehensive crop health documentation, but the terrain was brutal—scattered equipment, irrigation pivots, and a tree line that seemed designed to destroy drones. Traditional inspection methods would have taken three days. The Neo 2 completed the job in six hours.
This guide breaks down exactly how I use the Neo 2 for remote field inspections, covering the techniques, settings, and workflows that transformed my agricultural photography business.
Why Remote Field Inspection Demands Specialized Equipment
Agricultural and environmental field inspections present unique challenges that consumer drones simply cannot handle. You're dealing with vast distances, unpredictable obstacles, and the need for consistent, repeatable data capture.
The Neo 2 addresses these challenges through three core capabilities:
- Extended range connectivity maintaining stable links up to 10 kilometers
- Intelligent flight planning with waypoint precision within 0.5 meters
- Environmental sensors that adapt to wind gusts up to 38 mph
Traditional inspection methods require ground crews, multiple site visits, and often miss critical details hidden by terrain. Aerial inspection with the Neo 2 provides complete coverage in a fraction of the time.
Expert Insight: Always conduct a perimeter flight before systematic grid coverage. This identifies unexpected obstacles—temporary fencing, new structures, wildlife—that satellite imagery might miss.
Step-by-Step: Executing Professional Field Inspections
Pre-Flight Planning and Site Assessment
Before launching, I spend 15-20 minutes on ground-level reconnaissance. This isn't optional—it's the difference between a successful mission and a crashed drone.
Start by identifying:
- Power lines and their exact positions relative to your flight path
- Tree heights at field boundaries
- Any metallic structures that might cause compass interference
- Wind patterns based on vegetation movement
The Neo 2's obstacle avoidance system uses six directional sensors with a detection range of 40 meters. While impressive, these sensors work best when you've already planned around major hazards.
Configuring Optimal Camera Settings
For agricultural inspection work, I rely heavily on D-Log color profile. This flat color profile preserves 14 stops of dynamic range, capturing subtle variations in crop coloration that indicate health issues.
My standard inspection settings:
| Parameter | Setting | Rationale |
|---|---|---|
| Color Profile | D-Log | Maximum dynamic range for post-processing |
| Resolution | 5.4K/30fps | Balance of detail and file management |
| Shutter Speed | 1/120s | Reduces motion blur during movement |
| ISO | 100-400 | Minimizes noise in shadow areas |
| White Balance | 5600K | Consistent daylight baseline |
Executing Systematic Grid Coverage
The Neo 2's Hyperlapse function, typically used for creative timelapses, actually serves a practical inspection purpose. By setting a waypoint-based Hyperlapse at low speed, you create a comprehensive visual record with automatic image capture at precise intervals.
For standard field inspection, I configure:
- Flight altitude: 50-80 meters depending on crop height
- Overlap: 70% front, 65% side for photogrammetry compatibility
- Speed: 8-12 m/s for optimal image sharpness
- Capture interval: Every 2 seconds
Pro Tip: Use QuickShots in Dronie mode at each field corner. These automated sequences provide context shots that help clients understand the overall property layout without requiring additional flight time.
Leveraging Subject Tracking for Linear Features
When inspecting fence lines, irrigation channels, or field boundaries, ActiveTrack becomes invaluable. The Neo 2's subject tracking algorithm locks onto linear features and maintains consistent framing throughout the inspection path.
I've found this particularly effective for:
- Irrigation system integrity checks
- Fence line documentation for insurance purposes
- Drainage channel blockage identification
- Access road condition assessment
The tracking system compensates for wind drift automatically, maintaining your subject centered even in 25+ mph crosswinds.
Technical Specifications: Neo 2 vs. Field Inspection Requirements
Understanding how the Neo 2's specifications translate to real-world inspection capability helps you maximize efficiency.
| Specification | Neo 2 Capability | Field Inspection Benefit |
|---|---|---|
| Flight Time | 45 minutes | Covers 200+ acres per battery |
| Max Speed | 72 km/h | Rapid repositioning between zones |
| Wind Resistance | Level 5 (38 km/h) | Reliable operation in open terrain |
| Obstacle Sensing | Omnidirectional | Protection from unexpected hazards |
| Transmission Range | 10 km | Complete coverage of large properties |
| Operating Temp | -10°C to 40°C | Year-round inspection capability |
| Hover Accuracy | ±0.1m vertical | Consistent altitude for data uniformity |
Advanced Techniques for Challenging Conditions
Early Morning and Late Afternoon Operations
The best inspection data comes from flights during the golden hours—the first two hours after sunrise and last two before sunset. During these windows, shadows reveal terrain contours and crop stress patterns invisible at midday.
The Neo 2's D-Log profile handles these high-contrast conditions exceptionally well. I typically underexpose by 0.7 stops during golden hour to protect highlights, then recover shadows in post-production.
Managing Obstacle-Rich Environments
Remote fields often contain unexpected obstacles: abandoned equipment, temporary structures, wildlife. The Neo 2's obstacle avoidance system provides crucial protection, but understanding its limitations improves safety.
The sensors perform best when:
- Flying at speeds below 15 m/s
- Operating in adequate lighting conditions
- Approaching obstacles at angles greater than 15 degrees
Thin obstacles like power lines and guy wires remain challenging for any optical sensing system. Always map these manually during pre-flight planning.
Expert Insight: Create a "no-fly zone" buffer of 20 meters around any power infrastructure. This accounts for sensor limitations and provides margin for GPS drift in areas with poor satellite coverage.
Common Mistakes to Avoid
Neglecting battery temperature management: Cold batteries deliver reduced flight times. In temperatures below 10°C, warm batteries inside your vehicle until launch. The Neo 2's battery management system will warn you, but proactive warming prevents mid-mission returns.
Over-relying on automated modes: While QuickShots and Hyperlapse modes streamline workflow, they don't replace situational awareness. Always maintain visual line of sight and be ready to assume manual control.
Ignoring wind patterns: Open fields create unpredictable wind conditions. A tailwind on your outbound leg becomes a headwind returning—potentially stranding your drone if you've pushed range limits.
Skipping redundant documentation: Capture more than you think you need. Storage is cheap; returning to a remote site is expensive. I typically shoot 3x the footage I expect to deliver.
Using incorrect aspect ratios: Agricultural clients often need imagery for GIS software integration. Shoot in 4:3 aspect ratio for maximum sensor coverage rather than cinematic 16:9.
Frequently Asked Questions
How does the Neo 2 handle GPS signal loss in remote areas?
The Neo 2 incorporates dual-frequency GPS (L1/L5) combined with GLONASS and Galileo satellite systems. In my experience across dozens of remote locations, complete signal loss is rare. When it occurs, the drone automatically switches to ATTI mode, maintaining altitude while you navigate manually. The obstacle avoidance system remains active, providing protection during return flight.
Can the Neo 2's subject tracking follow moving agricultural equipment?
Yes, ActiveTrack effectively tracks vehicles, equipment, and even livestock at speeds up to 28 km/h. I've used this feature to document harvesting operations, irrigation system function, and livestock movement patterns. The system works best when the subject contrasts clearly against the background—a green tractor against brown soil tracks more reliably than one against green crops.
What's the optimal workflow for processing inspection footage?
I recommend a three-stage approach: First, review all footage at 2x speed to identify areas requiring detailed analysis. Second, export still frames from video at key locations using D-Log to standard color space conversion. Third, compile findings into georeferenced reports using the Neo 2's embedded GPS metadata. This workflow typically takes 2-3 hours per 100 acres of coverage.
Remote field inspection represents one of the most practical applications for modern drone technology. The Neo 2's combination of extended flight time, robust obstacle avoidance, and professional imaging capabilities makes it genuinely suited for this demanding work.
The techniques outlined here come from hundreds of hours of field experience. Start with smaller properties to build confidence, then scale to larger operations as your workflow matures.
Ready for your own Neo 2? Contact our team for expert consultation.