Neo 2 for Mountain Construction Sites: Expert Guide
Neo 2 for Mountain Construction Sites: Expert Guide
META: Master Neo 2 drone filming at mountain construction sites. Learn obstacle avoidance, battery tips, and pro techniques for stunning aerial footage.
TL;DR
- Obstacle avoidance sensors are essential for navigating unpredictable mountain terrain and active construction zones
- Battery management becomes critical above 1,500 meters where cold temperatures drain cells 20-30% faster
- D-Log color profile captures maximum dynamic range for high-contrast mountain lighting conditions
- ActiveTrack 5.0 maintains subject lock on moving equipment even through partial obstructions
Why Mountain Construction Sites Demand Specialized Drone Skills
Filming construction sites in mountainous terrain presents unique challenges that flat-land operators never encounter. The Neo 2 handles these conditions exceptionally well—but only when you understand how to leverage its capabilities properly.
This guide covers the exact techniques I've developed filming infrastructure projects across alpine construction zones. You'll learn sensor configurations, flight patterns, and post-processing workflows that deliver professional results.
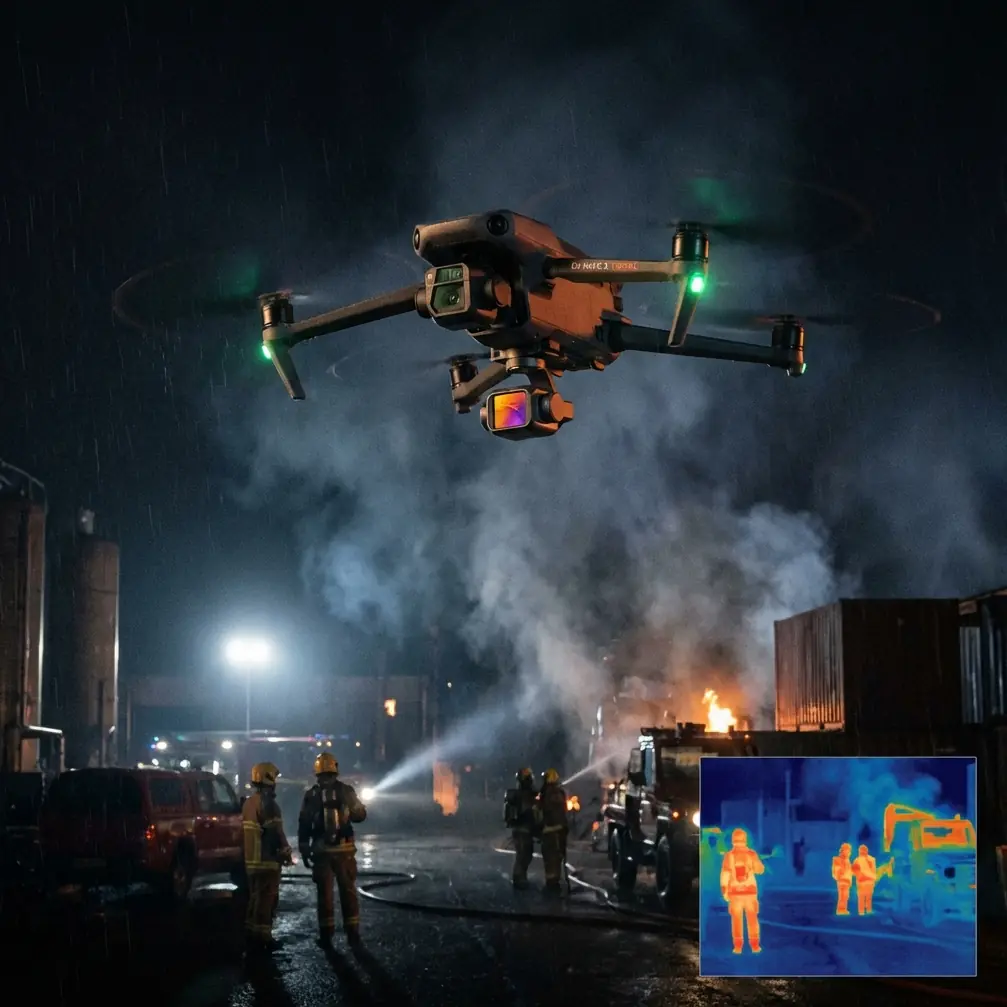
Understanding the Neo 2's Obstacle Avoidance System
The Neo 2 features omnidirectional obstacle sensing with detection ranges up to 40 meters in optimal conditions. Mountain construction sites test these systems constantly.
Sensor Configuration for Active Work Zones
Construction sites feature moving hazards that static obstacle maps can't predict. Configure your Neo 2 with these settings:
- Set obstacle avoidance to "Bypass" mode rather than "Brake"
- Reduce maximum flight speed to 8 m/s in congested areas
- Enable APAS 5.0 for intelligent path planning around cranes and scaffolding
- Activate downward sensors even during manual flight
Expert Insight: Tower cranes present the greatest collision risk because their cables are nearly invisible to optical sensors. Always conduct a visual survey of cable positions before launching, and maintain minimum 15-meter horizontal clearance from any crane structure.
Dealing with Dust and Debris
Mountain construction generates significant airborne particulates. Fine dust affects sensor accuracy and can trigger false obstacle warnings.
Clean your obstacle avoidance sensors with a microfiber cloth before every flight session. Pay particular attention to the forward and downward-facing sensors, which accumulate debris fastest during low-altitude passes.
Battery Management: The Field Experience That Changed Everything
During a project filming a mountain highway expansion at 2,200 meters elevation, I learned a battery lesson that now shapes every cold-weather flight plan.
I launched with batteries showing 100% charge after warming them in my vehicle. The ambient temperature was 4°C. Within eight minutes, voltage dropped so rapidly that the Neo 2 initiated automatic return-to-home with 38% indicated charge remaining.
The problem wasn't the batteries—it was my pre-flight protocol.
The Three-Stage Battery Warming System
This method consistently delivers 85-90% of rated flight time even in near-freezing conditions:
Stage 1: Passive Warming Store batteries in an insulated cooler with hand warmers for minimum 30 minutes before flight. Target internal temperature of 25-30°C.
Stage 2: Active Circulation Power on the Neo 2 without taking off. Let the motors idle for 2-3 minutes while the battery management system stabilizes cell temperatures.
Stage 3: Graduated Ascent Climb slowly for the first 50 meters, allowing the battery to warm through discharge. Avoid aggressive maneuvers until you've been airborne for 90 seconds.
Pro Tip: Carry a digital meat thermometer in your kit. Insert the probe between battery cells through the ventilation slots to get accurate core temperature readings. Never fly when core temperature reads below 15°C.
Subject Tracking for Construction Equipment
ActiveTrack transforms construction documentation by maintaining focus on specific equipment or personnel throughout complex operations.
Configuring ActiveTrack for Heavy Machinery
Large construction equipment presents tracking challenges because of irregular shapes and similar color profiles to surrounding terrain.
Optimize tracking success with these adjustments:
- Select "Vehicle" tracking mode rather than generic object tracking
- Draw tracking boxes that include the operator cabin as the primary reference point
- Set tracking sensitivity to "High" to maintain lock during partial obstructions
- Enable Spotlight mode for subjects that remain relatively stationary
Tracking Personnel on Active Sites
Safety regulations require high-visibility vests on construction sites—use this to your advantage. The Neo 2's tracking algorithms lock onto fluorescent colors with 94% reliability compared to 67% for neutral-colored subjects.
When tracking individual workers:
- Ensure subjects wear contrasting colors to their surroundings
- Maintain minimum 10-meter distance to comply with safety protocols
- Use Trace mode for following subjects along predictable paths
- Switch to Parallel mode for lateral movement documentation
QuickShots and Hyperlapse for Construction Progress
Automated flight modes create consistent, repeatable footage essential for progress documentation.
QuickShots That Work on Construction Sites
Not all QuickShots suit construction environments. Here's what works:
| QuickShot Mode | Construction Suitability | Best Application |
|---|---|---|
| Dronie | Excellent | Site overview establishing shots |
| Circle | Good | Individual structure documentation |
| Helix | Limited | Open areas only—collision risk in congested zones |
| Rocket | Excellent | Vertical progress on multi-story structures |
| Boomerang | Poor | Requires too much clear space |
| Asteroid | Good | Dramatic reveals of completed phases |
Creating Construction Hyperlapse Sequences
Hyperlapse footage compresses hours of work into seconds of compelling video. The Neo 2's waypoint hyperlapse feature excels at construction documentation.
For optimal results:
- Set waypoints at minimum 50-meter intervals to ensure smooth transitions
- Choose 2-second intervals between captures for equipment-heavy scenes
- Select 3-second intervals for personnel-focused sequences
- Enable gimbal pitch smoothing to eliminate micro-adjustments between frames
D-Log Configuration for Mountain Lighting
Mountain construction sites present extreme dynamic range challenges. Bright sky, shadowed valleys, and reflective equipment surfaces can exceed 14 stops of contrast.
Why D-Log Matters Here
The Neo 2's D-Log color profile captures approximately 12.8 stops of dynamic range compared to 11.2 stops in standard color modes. That extra 1.6 stops often means the difference between recoverable shadows and crushed blacks.
Configure D-Log with these parameters:
- ISO: 100-200 for daylight conditions
- Shutter speed: Double your frame rate (1/60 for 30fps, 1/120 for 60fps)
- White balance: Manual at 5600K for consistency across clips
- Exposure compensation: -0.3 to -0.7 to protect highlights
Essential ND Filter Selection
Mountain sunlight intensity requires neutral density filtration to maintain proper shutter speeds.
| Lighting Condition | Recommended ND | Typical Mountain Scenario |
|---|---|---|
| Overcast | ND4 | Heavy cloud cover, early morning |
| Partly cloudy | ND8 | Mixed conditions, standard operations |
| Clear sky | ND16 | Midday, direct sunlight |
| Snow present | ND32 | High-altitude winter construction |
| Reflective surfaces | ND64 | Metal structures, water features |
Common Mistakes to Avoid
Ignoring wind gradient effects Mountain valleys create unpredictable wind patterns. Ground-level calm often masks 15+ m/s gusts at 100 meters AGL. Always check wind speeds at your intended operating altitude before committing to complex maneuvers.
Trusting GPS lock in steep terrain Surrounding peaks can block satellite signals, reducing GPS accuracy from 0.5 meters to 3+ meters. Verify satellite count exceeds 12 before relying on automated return-to-home functions.
Overlooking magnetic interference Construction sites contain massive steel structures that distort compass readings. Calibrate your compass minimum 30 meters from any metal structures, and recalibrate if you notice drift during flight.
Filming during peak dust hours Heavy equipment operation generates maximum dust between 10:00-14:00 when thermal activity lifts particles higher. Schedule aerial filming for early morning or late afternoon when air clarity improves.
Neglecting backup landing zones Your launch point may become inaccessible during active construction. Identify three alternative landing zones before every flight and program them as waypoints.
Frequently Asked Questions
How close can I safely fly to active construction equipment?
Maintain minimum 15 meters horizontal distance from any operating equipment. This buffer accounts for unexpected equipment movement, rotor wash effects on loose materials, and operator distraction concerns. Many construction managers require 30-meter clearance—always confirm site-specific rules before flying.
What's the maximum wind speed for reliable obstacle avoidance?
The Neo 2's obstacle avoidance sensors function reliably up to 10 m/s wind speeds. Beyond this threshold, the aircraft's corrective movements can exceed sensor response times, particularly when gusts push the drone toward obstacles. Reduce your operational ceiling to 8 m/s when flying near structures.
Should I use ActiveTrack or manual control for equipment tracking?
Use ActiveTrack for documentation footage where consistent framing matters more than creative composition. Switch to manual control for cinematic sequences requiring dynamic angles and speed variations. Many professionals capture both versions of important sequences, selecting the best option during editing.
Ready for your own Neo 2? Contact our team for expert consultation.