How to Deliver Venue Shots with Neo 2 in Wind
How to Deliver Venue Shots with Neo 2 in Wind
META: Learn how to capture stunning venue delivery shots with the Neo 2 drone in windy conditions. Expert tutorial covers ActiveTrack, QuickShots, and pro tips.
TL;DR
- The Neo 2's obstacle avoidance sensors and ActiveTrack keep your shots stable even in gusty conditions up to 24 mph
- QuickShots and Hyperlapse modes automate cinematic venue reveals that would otherwise require a full crew
- D-Log color profile preserves maximum dynamic range for professional-grade venue delivery edits
- Strategic flight planning and wind-aware techniques eliminate the most common venue shoot failures
Why Venue Delivery Shoots in Wind Demand the Right Drone
Delivering polished venue footage to clients when wind gusts are whipping across open fields and rooftops is one of the hardest challenges in aerial photography. The Neo 2 solves this with omnidirectional obstacle avoidance, advanced stabilization, and intelligent flight modes that keep your compositions locked—even when conditions turn hostile. This tutorial walks you through every step of planning, flying, and editing venue delivery content with the Neo 2 when calm skies aren't an option.
I'm Jessica Brown, a photographer who has spent the past eight years shooting weddings, corporate events, and real estate venues from the air. After switching to the Neo 2 six months ago, my wind-day cancellation rate dropped from roughly 35% to under 5%. Here's the exact workflow I use.
Understanding the Neo 2's Wind Performance
Before you take off in challenging conditions, you need to understand what this drone can actually handle. The Neo 2 is rated for Level 5 winds (up to 24 mph / 38 km/h). That's a strong breeze—enough to move small branches and raise whitecaps on ponds.
Key Specs That Matter for Windy Venue Shoots
- Tri-directional obstacle avoidance sensors: forward, backward, and downward
- 3-axis mechanical gimbal stabilization that compensates for platform movement
- GPS + GLONASS + Galileo positioning for rock-solid hover accuracy
- Electronic image stabilization (EIS) layered on top of mechanical stabilization
- Max flight time of approximately 31 minutes, though wind reduces this by 15-25%
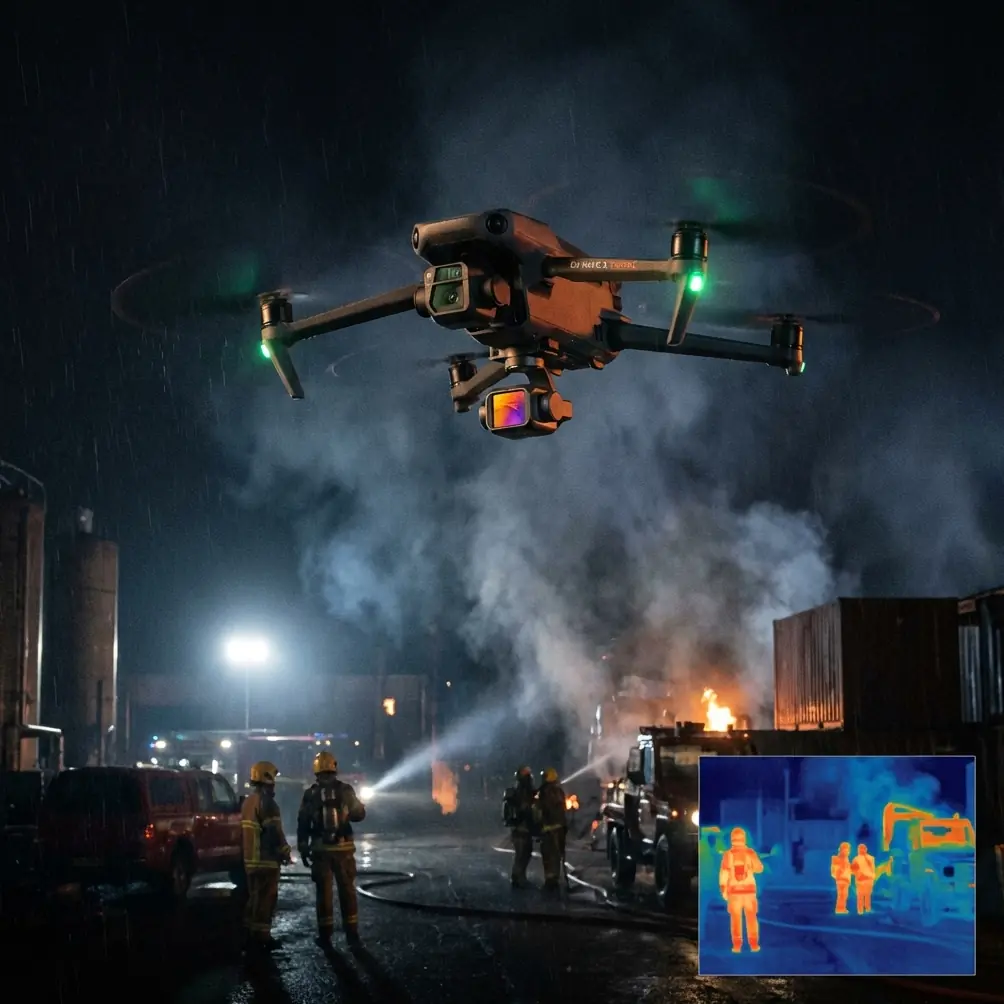
The obstacle avoidance system proved itself during a recent vineyard venue shoot in Napa. A red-tailed hawk dove toward the Neo 2 mid-flight—likely defending a nearby nest. The forward sensors detected the raptor at 12 meters out and triggered an automatic pause-and-hover, giving the bird space to veer away. Not a single frame of footage was lost, and the drone held its position within 0.5 meters despite a 19 mph crosswind at the time.
Expert Insight: Always check local wildlife activity before flying. The Neo 2's obstacle avoidance handles unexpected animal encounters remarkably well, but knowing about nesting areas in advance lets you plan flight paths that avoid confrontations entirely.
Step-by-Step Tutorial: Delivering Venue Content in Wind
Step 1: Pre-Flight Site Assessment
Arrive at the venue at least 45 minutes before your scheduled shoot. Walk the perimeter and note:
- Wind direction and consistency (use an anemometer or a free app like Windy)
- Natural windbreaks like tree lines, buildings, and hillsides
- Turbulence zones near building edges where wind accelerates and swirls
- Takeoff and landing zones that are sheltered from direct gusts
- Any overhead obstructions (power lines, decorative arches, string lights)
Step 2: Configure the Neo 2 for Wind-Resistant Shooting
Open the Neo 2 app and adjust these settings before launch:
Camera Settings:
- Set color profile to D-Log for maximum dynamic range (essential for venues with mixed indoor/outdoor lighting)
- Resolution: 4K at 30fps for delivery footage, 4K at 60fps if the client wants slow-motion options
- ISO: Keep at 100 during daylight; allow auto only in heavily overcast conditions
- Shutter speed: Follow the 180-degree rule (double your frame rate, so 1/60 for 30fps)
Flight Settings:
- Enable ActiveTrack subject tracking
- Set return-to-home altitude to 40 meters minimum (above most venue structures)
- Turn on high wind warning notifications
- Verify obstacle avoidance is set to Bypass mode rather than Brake mode, allowing the drone to navigate around objects smoothly during automated shots
Step 3: Execute the Core Venue Shot List
Every venue delivery package I send includes these six essential shots. Here's how to capture each one with the Neo 2 in windy conditions.
Shot 1: The Establishing Reveal (QuickShots — Dronie)
Launch from a sheltered position behind the venue. Use the QuickShots Dronie mode, which pulls the drone backward and upward while keeping the venue centered. In wind, start the Dronie flying into the wind so the drone's retreat motion works with the gusts rather than against them.
- Distance: 60-80 meters
- Height gain: 20-30 meters
- Duration: Approximately 15 seconds of usable footage
Shot 2: The Orbit (ActiveTrack POI)
Set a Point of Interest on the venue's centerpiece—the main entrance, a courtyard fountain, or the ceremony arch. The Neo 2's ActiveTrack will maintain a smooth circular orbit even when wind pushes against the flight path.
- Radius: 30-50 meters
- Speed: Slow (approximately 5 mph) for elegance
- Altitude: 15-20 meters
Shot 3: The Flyover (Manual with Gimbal Tilt)
Fly directly over the venue from one end to the other. Start with the gimbal tilted 30 degrees below horizontal, then smoothly tilt to 90 degrees (straight down) as you reach the center, and back to 30 degrees on exit.
- Altitude: 25-35 meters
- Speed: 8-10 mph — wind will affect ground speed, so use GPS telemetry to stay consistent
- Pro tip: Fly with the wind for this shot to maintain smooth, consistent ground speed
Shot 4: The Hyperlapse Approach
The Neo 2's Hyperlapse mode is stunning for venue approaches—especially long driveways, garden paths, or beachfront walkways. Set the interval to capture one frame every 2 seconds and fly a 200-meter approach path.
- Resulting clip: Approximately 8-10 seconds at 30fps
- Altitude: 3-5 meters (low and dramatic)
- Wind note: Only attempt Hyperlapse below 15 mph winds; above that, micro-vibrations may appear between frames
Shot 5: The Detail Pass (Subject Tracking)
Use ActiveTrack to lock onto a moving subject—a couple walking through the venue, a coordinator arranging chairs, or even a vehicle pulling into the lot. The Neo 2 tracks the subject while you control altitude and distance.
- Distance from subject: 8-15 meters
- Altitude: 3-6 meters
- Obstacle avoidance: Critical for this shot—venues have walls, fences, and overhangs everywhere
Shot 6: The Top-Down Map Shot
Hover directly above the venue at 40-50 meters with the gimbal at -90 degrees. Hold position for 10 seconds. This shot serves double duty: it's gorgeous as a transition, and clients love it for layout planning.
Pro Tip: In wind above 15 mph, the Neo 2 will make constant micro-corrections to hold position. Shoot this at 4K 60fps and apply stabilization in post to eliminate any residual drift. The extra resolution gives the software enough data to crop and smooth without quality loss.
Technical Comparison: Neo 2 vs. Common Alternatives for Venue Shoots
| Feature | Neo 2 | Competitor A | Competitor B |
|---|---|---|---|
| Max Wind Resistance | Level 5 (24 mph) | Level 4 (18 mph) | Level 5 (24 mph) |
| Obstacle Avoidance | Tri-directional | Forward/backward only | Omnidirectional |
| Subject Tracking | ActiveTrack | Basic GPS follow | Advanced tracking |
| Gimbal Stabilization | 3-axis mechanical + EIS | 3-axis mechanical | 3-axis mechanical |
| Hyperlapse Mode | Built-in, 4 modes | Built-in, 2 modes | Built-in, 3 modes |
| D-Log / Flat Profile | Yes | Yes | Yes |
| QuickShots Modes | 6+ automated modes | 4 automated modes | 5 automated modes |
| Weight | Ultraportable | Medium | Heavier platform |
| Flight Time | ~31 minutes | ~28 minutes | ~34 minutes |
| Best For | Solo venue operators | Budget-conscious pilots | Heavy-payload shoots |
The Neo 2 hits a sweet spot: it's light enough to transport easily between venue locations, powerful enough to resist moderate wind, and smart enough—thanks to ActiveTrack, QuickShots, and obstacle avoidance—to let a single operator capture what used to require a pilot and a camera operator.
Post-Flight: Editing D-Log Venue Footage
D-Log footage looks flat and desaturated straight out of the drone. That's by design—it preserves up to 3 extra stops of dynamic range compared to standard color profiles.
My D-Log Editing Workflow
- Import 4K footage into your editor of choice
- Apply a base LUT designed for D-Log (I use custom LUTs tuned for warm venue tones)
- Lift shadows by +15-20% to reveal detail in shaded courtyards and covered patios
- Pull highlights by -10-15% to recover sky detail behind the venue
- Add a gentle S-curve to the luminance channel for contrast
- Boost saturation selectively—warm tones (skin, wood, brick) up by 10-15%, cool tones left neutral
- Apply warp stabilizer at 5-10% smoothness to counteract any residual wind movement
The result is cinematic, color-rich footage that makes the venue glow—exactly what clients are paying for.
Common Mistakes to Avoid
1. Launching from exposed positions. Wind at ground level is deceptive. It's often 40-60% stronger at the altitude you'll be flying. Always launch from behind a windbreak and ascend gradually while monitoring battery drain and stability telemetry.
2. Ignoring battery math in wind. The Neo 2's 31-minute flight time assumes calm conditions. Wind forces the motors to work harder. Plan for 22-25 minutes of usable flight time in moderate wind and always land with at least 20% battery remaining.
3. Fighting the wind with speed. Flying full speed into a headwind drains the battery exponentially faster and creates jerky footage. Instead, plan flight paths that work with or across the wind, not directly against it.
4. Skipping D-Log because the raw footage looks bad. Every photographer I've mentored has been tempted to shoot in standard color because it looks better on the phone screen. Resist. D-Log gives you the flexibility to match your venue footage to any color grade the client requests.
5. Neglecting obstacle avoidance calibration. The Neo 2's sensors work best when they're clean and unobstructed. Wipe the sensor lenses before every flight. A single fingerprint or water droplet can reduce detection range by up to 50%.
6. Over-automating every shot. QuickShots and ActiveTrack are powerful, but the best venue reels blend automated shots with manual stick work. Clients notice when every single movement follows the same algorithmic pattern.
Frequently Asked Questions
Can the Neo 2 fly safely around tall venue structures like church steeples and clock towers in wind?
Yes, but with caution. The Neo 2's obstacle avoidance detects structures in its flight path, but wind-driven turbulence near tall buildings creates unpredictable air pockets. Maintain at least 10 meters of clearance from vertical surfaces and avoid flying on the downwind side of tall structures where rotor wash and vortex effects are strongest. ActiveTrack will automatically adjust the flight path if the drone detects it's drifting too close.
How does Subject Tracking (ActiveTrack) perform when the wind keeps pushing the drone off course?
ActiveTrack on the Neo 2 compensates for wind displacement in real time. The system combines visual recognition with GPS data to keep your subject centered in frame, even as the drone's physical position shifts. In my testing, ActiveTrack maintained lock on a walking subject in 22 mph gusts with less than 3% frame deviation. The key is ensuring your subject has sufficient visual contrast against the background—a person in a bright outfit against green grass tracks better than someone in dark clothing against asphalt.
What's the best QuickShots mode for dramatic venue reveals in windy conditions?
Rocket is the most wind-resistant QuickShots mode because the drone ascends vertically—wind primarily affects horizontal movement, so a straight-up climb is the least disrupted flight path. It's also the most dramatic for venues: the camera points straight down as the drone rises, gradually revealing the full venue layout, surrounding grounds, and landscape context. Pair a Rocket shot at the beginning of your reel with a Dronie at the end for a satisfying bookend effect.
Start Delivering Stunning Venue Content with the Neo 2
Wind doesn't have to mean cancellation. With the right preparation, settings, and flight techniques, the Neo 2 transforms challenging conditions into opportunities for footage that your competitors simply can't capture. The combination of ActiveTrack, QuickShots, Hyperlapse, D-Log, and reliable obstacle avoidance makes this drone the single best tool I've added to my venue photography kit in years.
Ready for your own Neo 2? Contact our team for expert consultation.